

If you read our last post on Coder and Airflow, you already know the shape of the problem we keep running into: every new hire on a data team loses their first day or two to environment setup, not to actual work. With Airflow, that pain is loud — a broken Docker Compose stack fails obviously, right away. With dbt, it’s quieter, and in some ways worse.
dbt is “just” a Python CLI. No webserver, no scheduler, no Redis. That simplicity is exactly what makes the local setup problem sneaky. A new analyst clones the repo, follows the README, runs dbt run, and hits a cryptic adapter error that has nothing to do with their SQL and everything to do with dbt-core and dbt-postgres being a minor version apart. Or profiles.yml — which lives outside the repo by design, in ~/.dbt/, with credentials that every developer manages by hand and that inevitably drift from what the rest of the team is using. Two hours later they’re in Slack, and you’ve seen this exact question before.
There’s also a positioning question worth naming directly. Most teams end up choosing between two extremes: dbt Cloud, which solves the environment problem but comes with a real price tag and locks you into its own IDE and workflow, or fully local development, which is free but leaves every developer to fend for themselves. Coder sits in the middle. You get a managed, consistent environment — closer to what dbt Cloud gives you — without paying for it or giving up the flexibility of running your own infrastructure and your own editor.
This post is the second in our series on managing data engineering environments with Coder, and it follows the same core idea as the Airflow post: stop distributing setup instructions and start distributing the environment itself. It also solves the same invisible problem we flagged in that post: standardization drift. When you land on a better dbt macro, a new lint rule, or a version bump that the whole team needs, there’s no email to send and no doc to hope people actually read — you update the Terraform template, and every developer’s next workspace picks it up automatically. The environment itself becomes the source of truth for what “local dbt development” means on your team, instead of tribal knowledge scattered across onboarding docs and Slack threads.
We’ll walk through dbt_coder, a repo that uses the same Coder-plus-Terraform pattern to give every developer a browser-based VS Code workspace with dbt already installed, Postgres already seeded, and every model already built the moment the workspace finishes provisioning.
The stack here is different enough from Airflow to be worth its own post. There’s no Docker-in-Docker daemon to manage — instead the template provisions a Python virtual environment, installs dbt-core and dbt-postgres at pinned, compatible versions, and even sets up dbt Fusion, the newer Rust-based CLI, for teams working with larger projects. It also pre-configures the editor itself: the dbt Labs extension, SQLTools wired directly to the workspace’s Postgres instance, Jinja syntax highlighting for .sql models, and — if you provide an API key — Claude Code for AI-assisted model writing and documentation. The sample project we’ll use to demonstrate all of this models a fictional educational institution: students, courses, grades, and a full staging-to-marts layer structure, including an at-risk student scoring model built on window functions.
Let’s get into how the template is put together.
Creating Your Workspace
Running Coder Locally on Mac First, clone the repo:
git clone https://github.com/ponderedw/dbt_coder.git
cd dbt_coder
Then install Coder:
curl -L https://coder.com/install.sh | shAnd start the server. You need to pass both an access URL and a wildcard access URL — the wildcard is what allows Coder to proxy your workspace apps through a subdomain:
coder server --access-url http://localhost:3000 --wildcard-access-url “*.localhost:3000”Once it starts, open http://localhost:3000 in your browser. You’ll be prompted to create an admin account on the first run.
From there, go to Templates and create a new template — paste in the coder_template.tf from the repo you just cloned, then click Build and Publish. Click Create Workspace, fill in the parameters (your Git name, the repo URL, a Git token if you’re pointing at a private repo, your Postgres connection details or the defaults to spin one up inside the workspace, and your Anthropic API key if you want Claude Code available), then hit Create and watch the build logs.
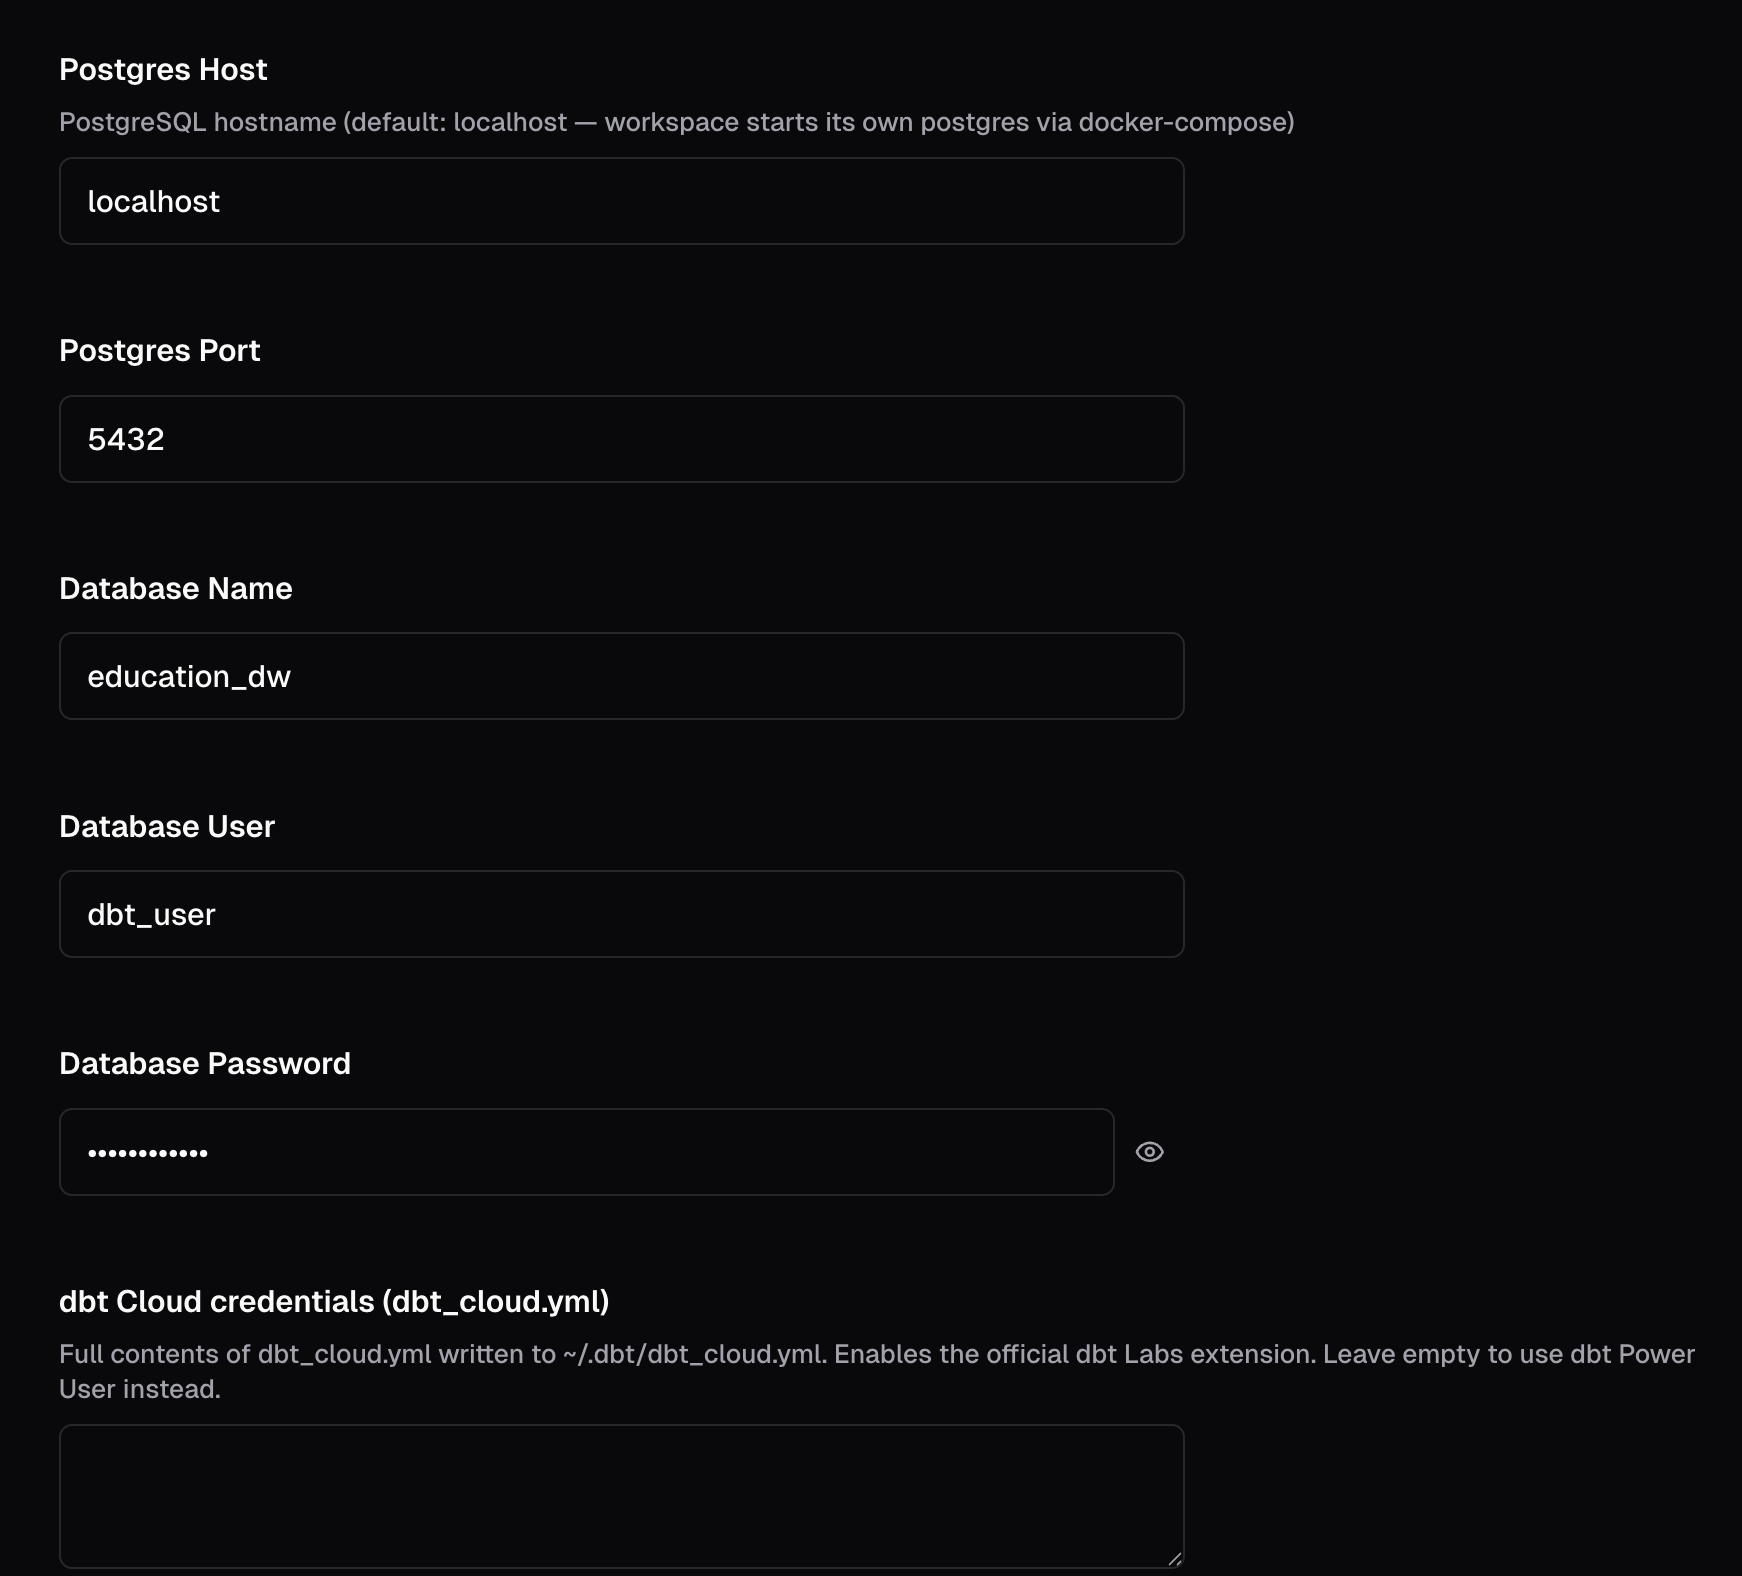
This part is nearly identical to what we walked through in the Airflow post — installing Coder, starting the server, and building a template from a .tf file don’t change based on what’s running inside the workspace. For more detail on each of these steps, see the previous post.
Cool Features
Reading through coder_template.tf line by line surfaces a handful of details that aren’t obvious from the parameter form, but do a lot of work behind the scenes.
The clone logic is idempotent. Instead of a single git clone, the startup script checks whether the target directory already has a .git folder — if it does, it runs git pull instead of cloning fresh, and if the directory exists but isn’t a real repo, it wipes and re-clones. That means restarting a stopped workspace doesn’t just restore your old files from the volume, it also pulls whatever changed on the branch since you last had it running.
Postgres startup isn’t a fire-and-forget docker compose up. When db_host is left at its default of localhost, the script starts Postgres via docker-compose and then polls pg_isready in a loop, up to 30 attempts with a 2-second sleep between them, before moving on to dbt run. Skip that wait and dbt seed would just fail against a database that hasn’t finished booting yet.
The editor adapts to whether you’re using dbt Cloud. If you paste credentials into the dbt_cloud_yml parameter, the template writes them to ~/.dbt/dbt_cloud.yml (chmod 600) and installs the official dbt Labs VS Code extension.
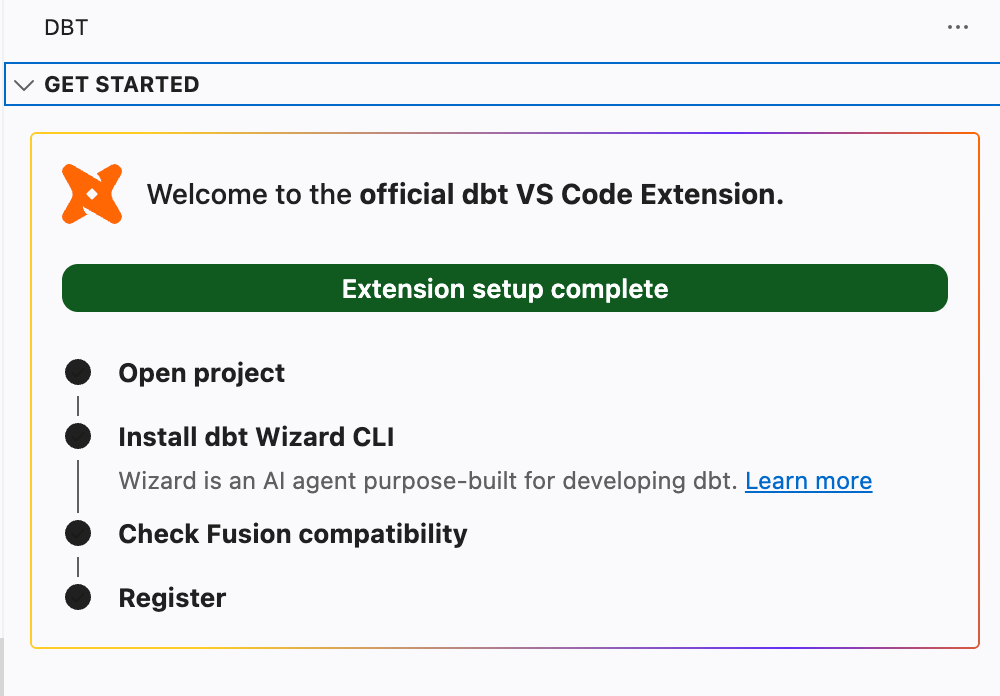
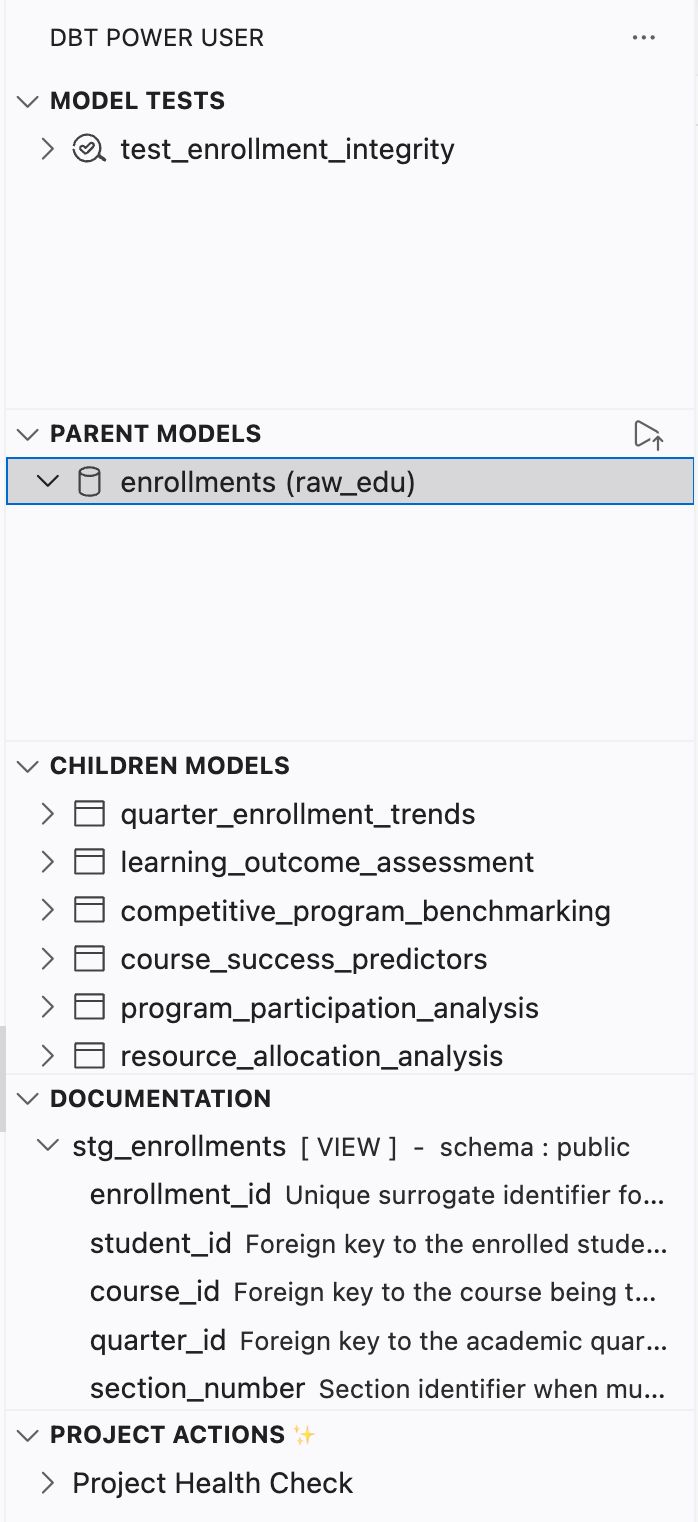
Leave that field empty and it installs the community dbt Power User extension instead — same workspace, same template, two different editor experiences depending on one parameter. This branching happens twice, once in the startup script and once in the extensions.allowed VS Code machine settings, so whichever path you take, only the relevant extension is even installable.
That extensions.allowed setting is worth pausing on — it’s not just a list of extensions to install, it’s an allowlist enforced at the machine level. Developers can’t add random extensions on top of it.
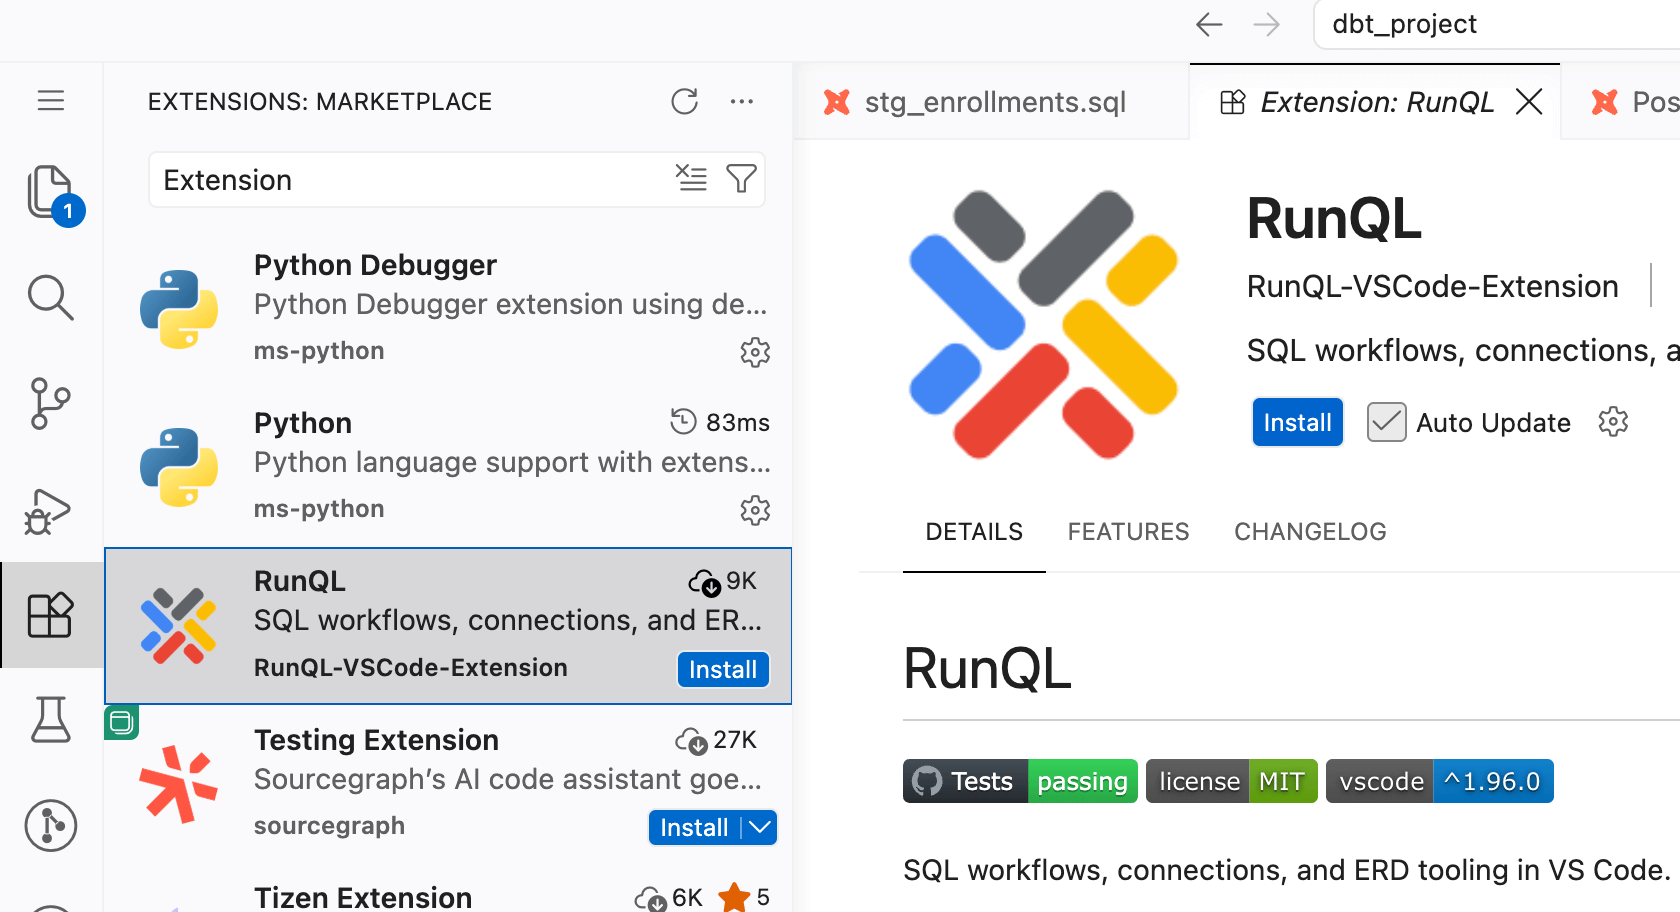
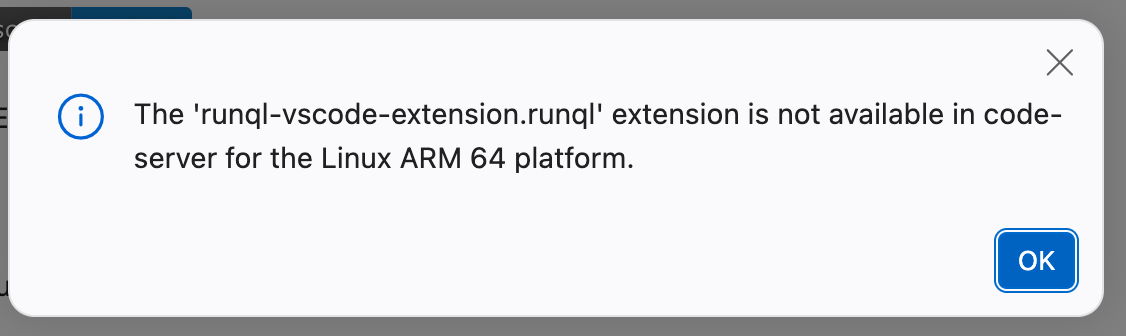
Combined with SQLTools being pre-wired with a live connection to the workspace’s Postgres instance (host, port, credentials, all filled in from the same parameters),
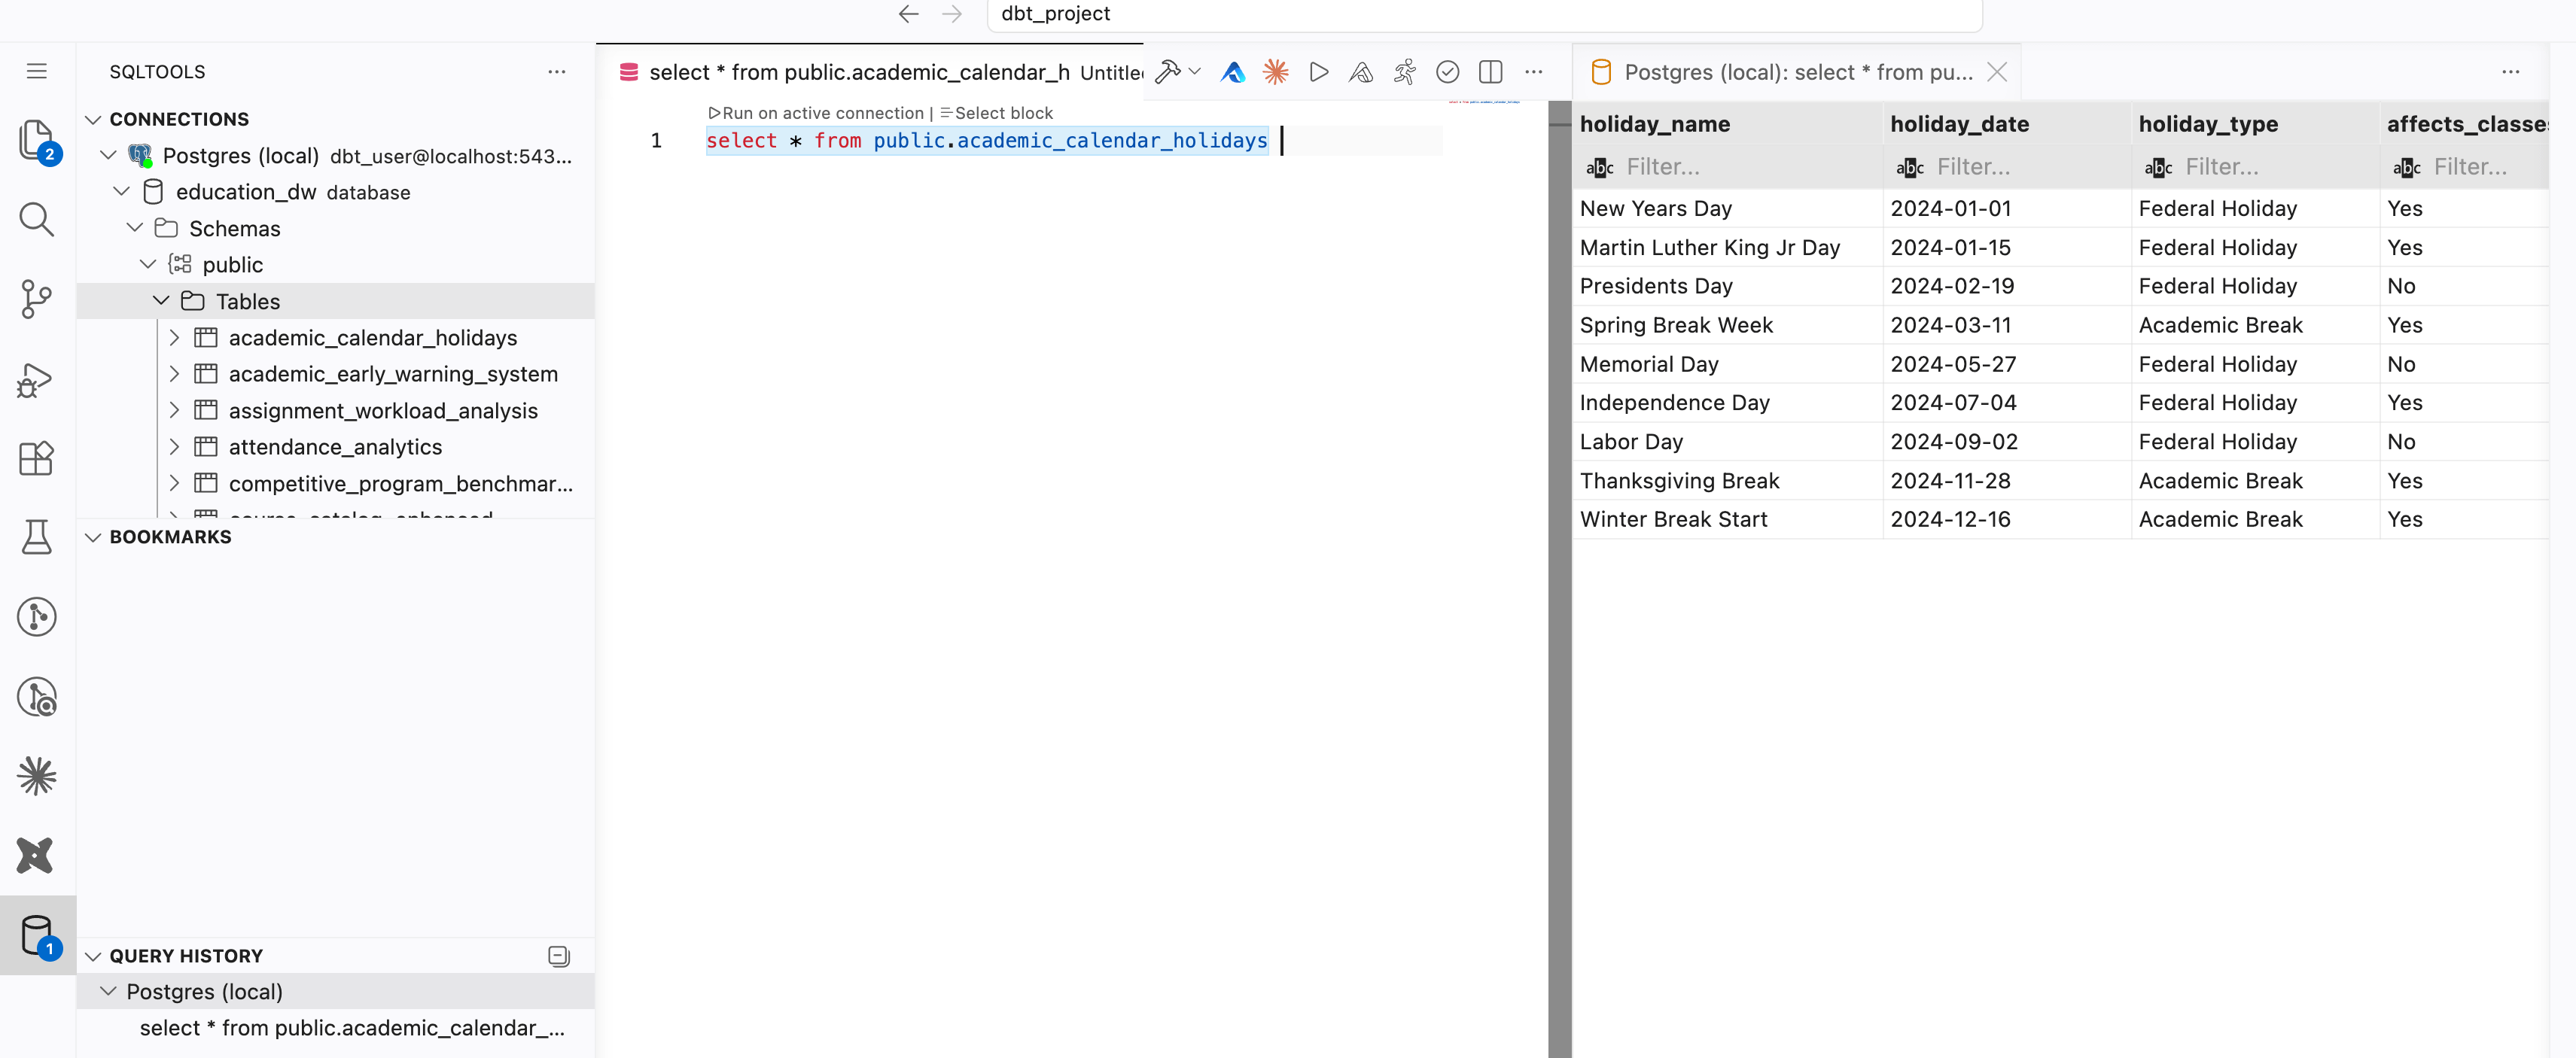
and Claude Code getting its API key dropped straight into .claude/settings.local.json, a new developer opens the editor and everything just works — no extension hunting, no profiles.yml to hand-edit, no separate database client to configure.
There’s also a small git-auth trick tucked into the script: GIT_ASKPASS=/bin/true and GIT_TERMINAL_PROMPT=0 are set before cloning, specifically so a public repo clone never hangs waiting for a credential prompt that will never come. It only falls back to token-based auth when git_token is actually set.
And the workspace reports on itself. Three coder_agent metadata blocks poll CPU usage, RAM usage, and — nicely specific to this template — the installed dbt version, all visible right on the workspace page without opening a terminal.
One structural detail worth noting for the walkthrough: the code-server module’s folder is set directly to dbt_project/, not the repo root. Open the workspace and VS Code lands you exactly where the models live, not one directory up.
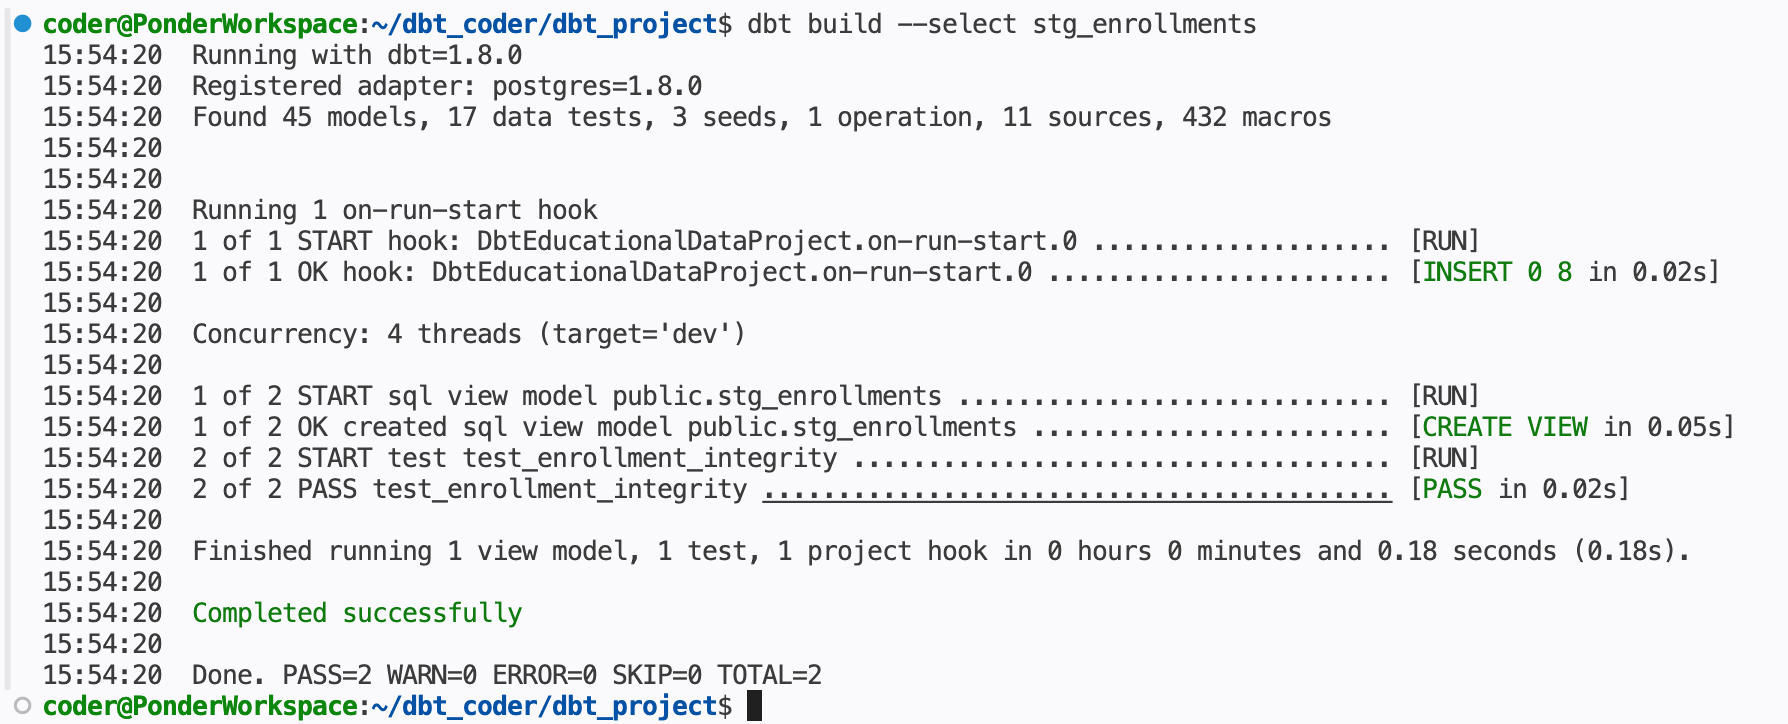
dbt Features
The extension doing the heavy lifting here is dbt Power User, built by Altimate AI. It’s open source, and its core features work without a dbt Cloud subscription or even an account — you get most of what makes dbt Cloud’s IDE nice, running locally against your own workspace instead.
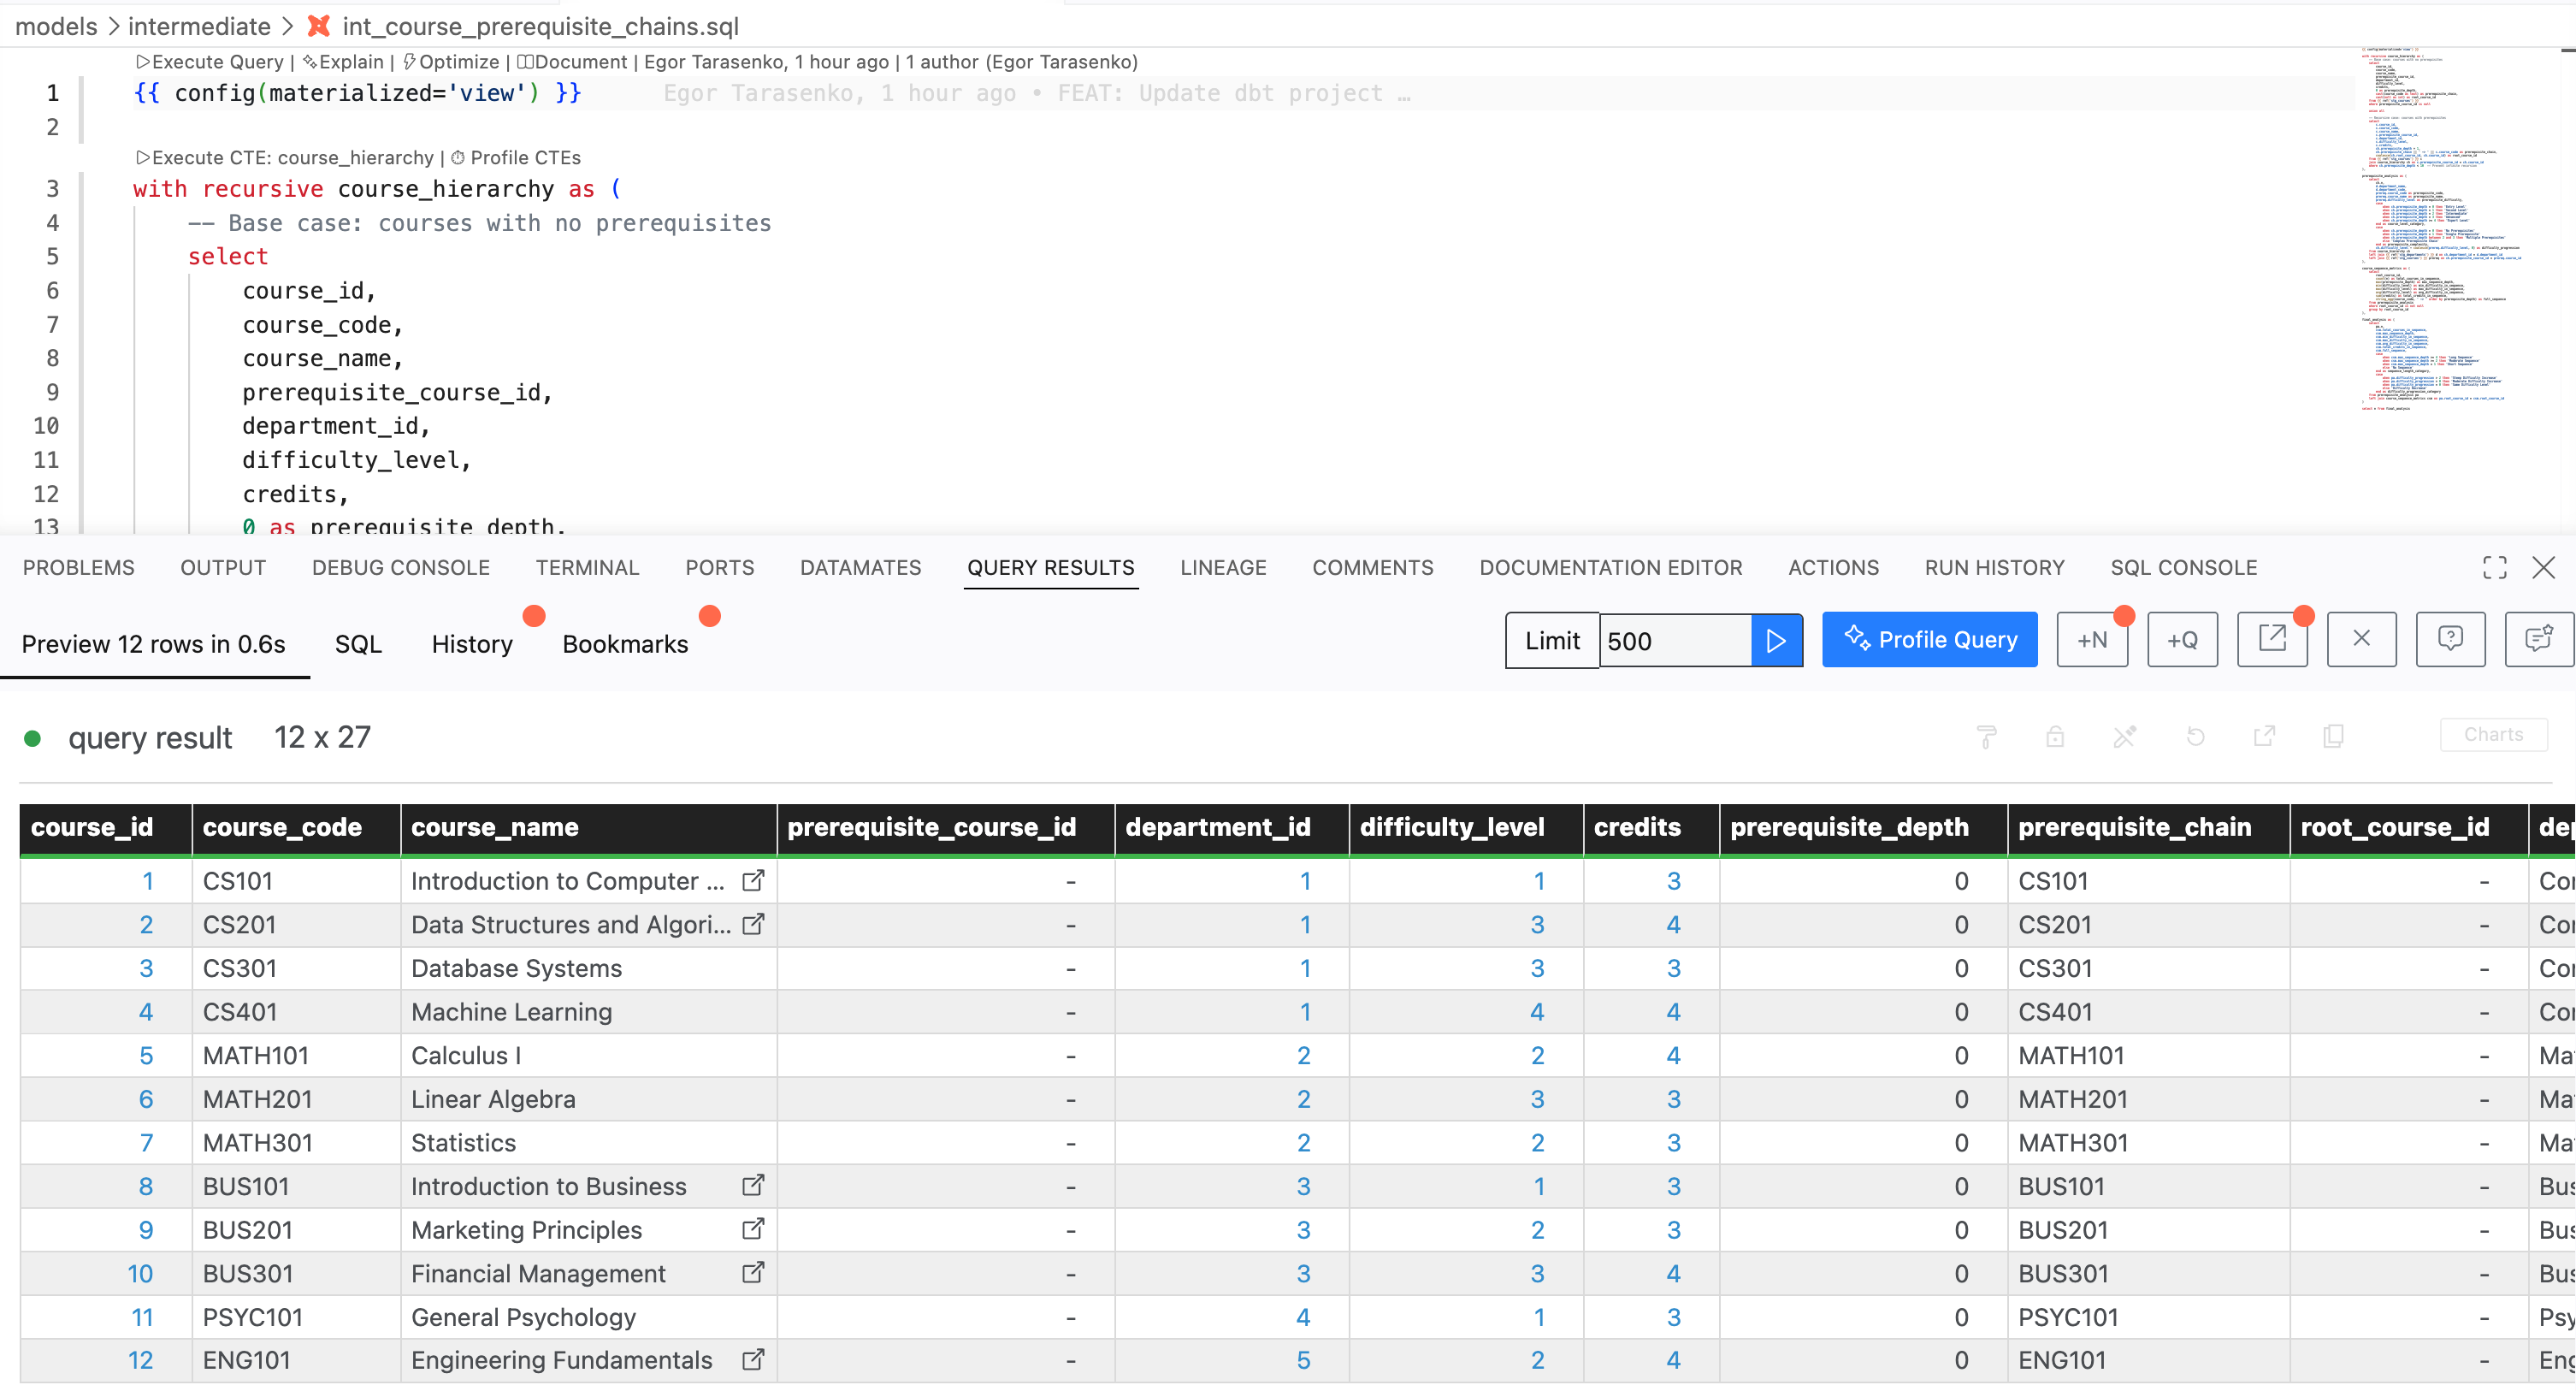
Open a .sql model and you get Query Results inline — run the model or any ad hoc query and see the output as a table right in the editor, with the option to export to CSV or throw together a quick chart without leaving VS Code.
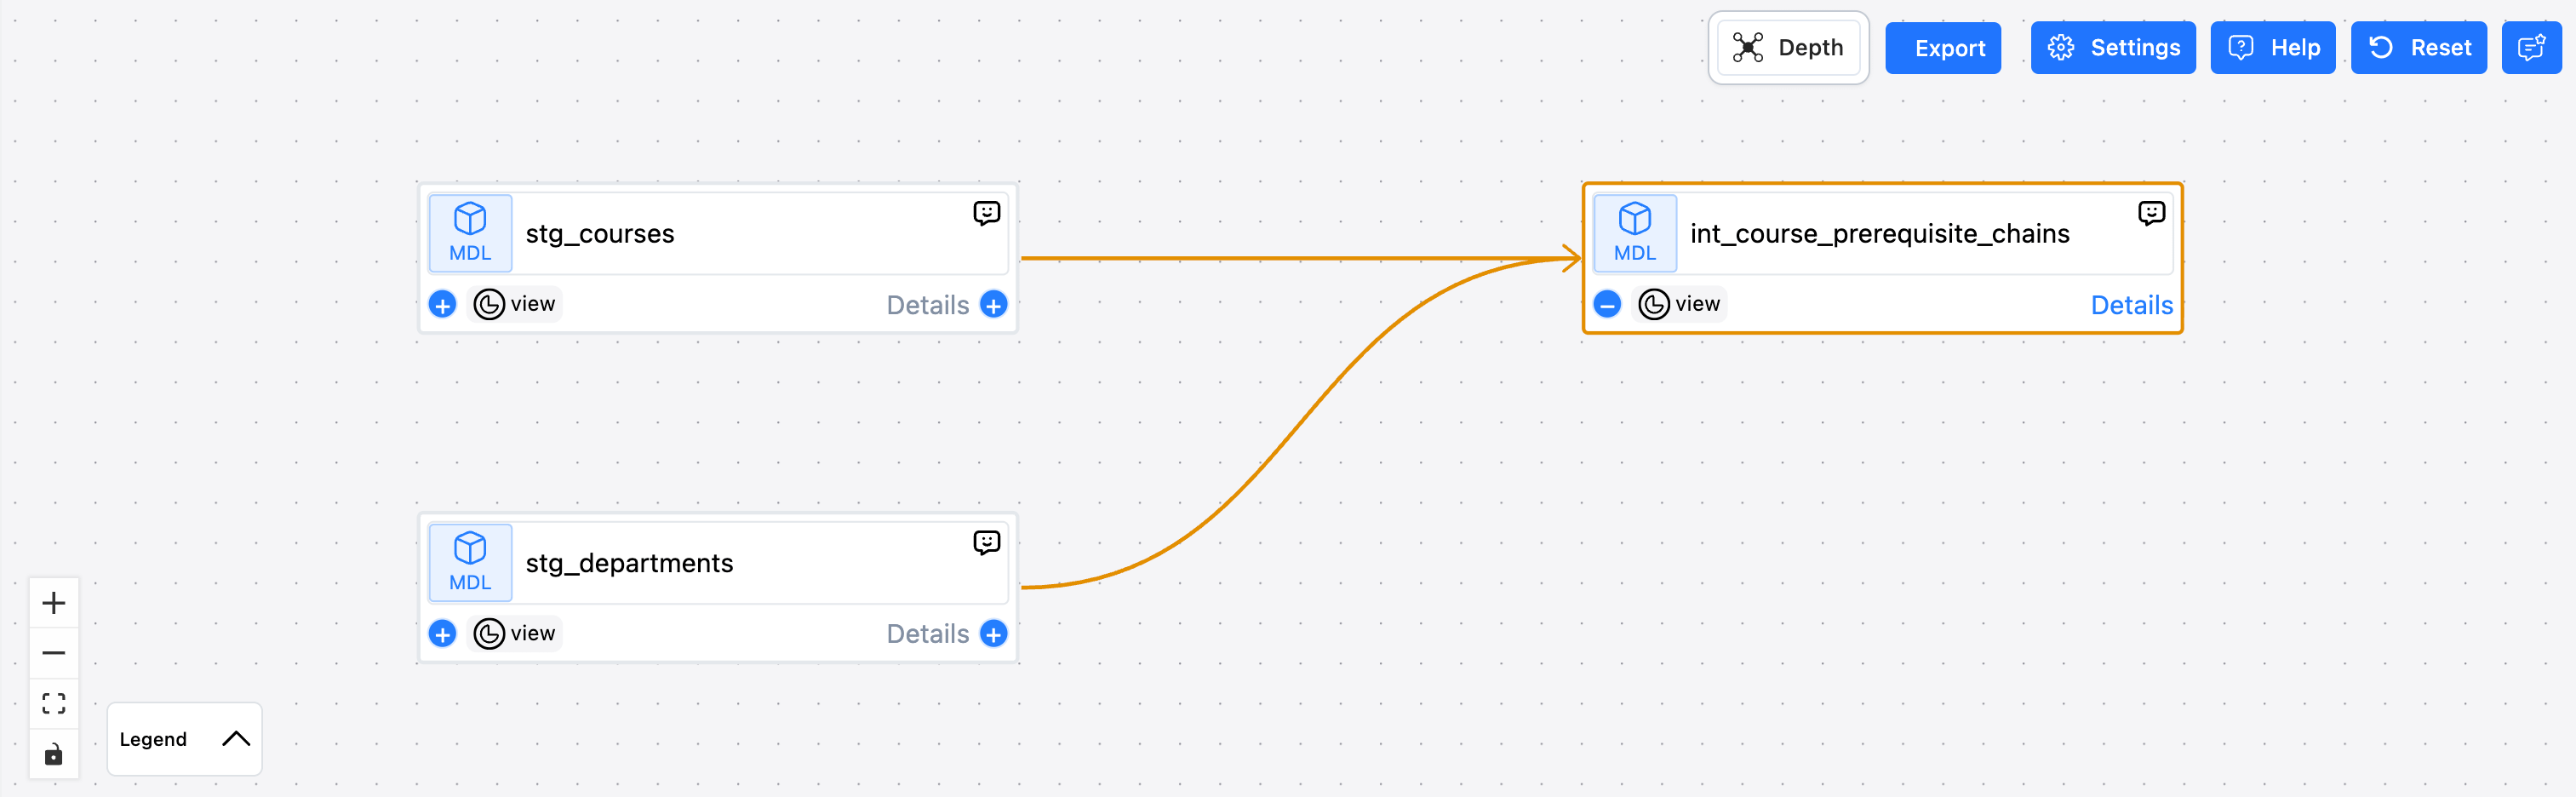
Lineage works the same way: click into a model and see its upstream and downstream dependencies as a graph, so you can trace exactly where a model came from and everything downstream that depends on it.
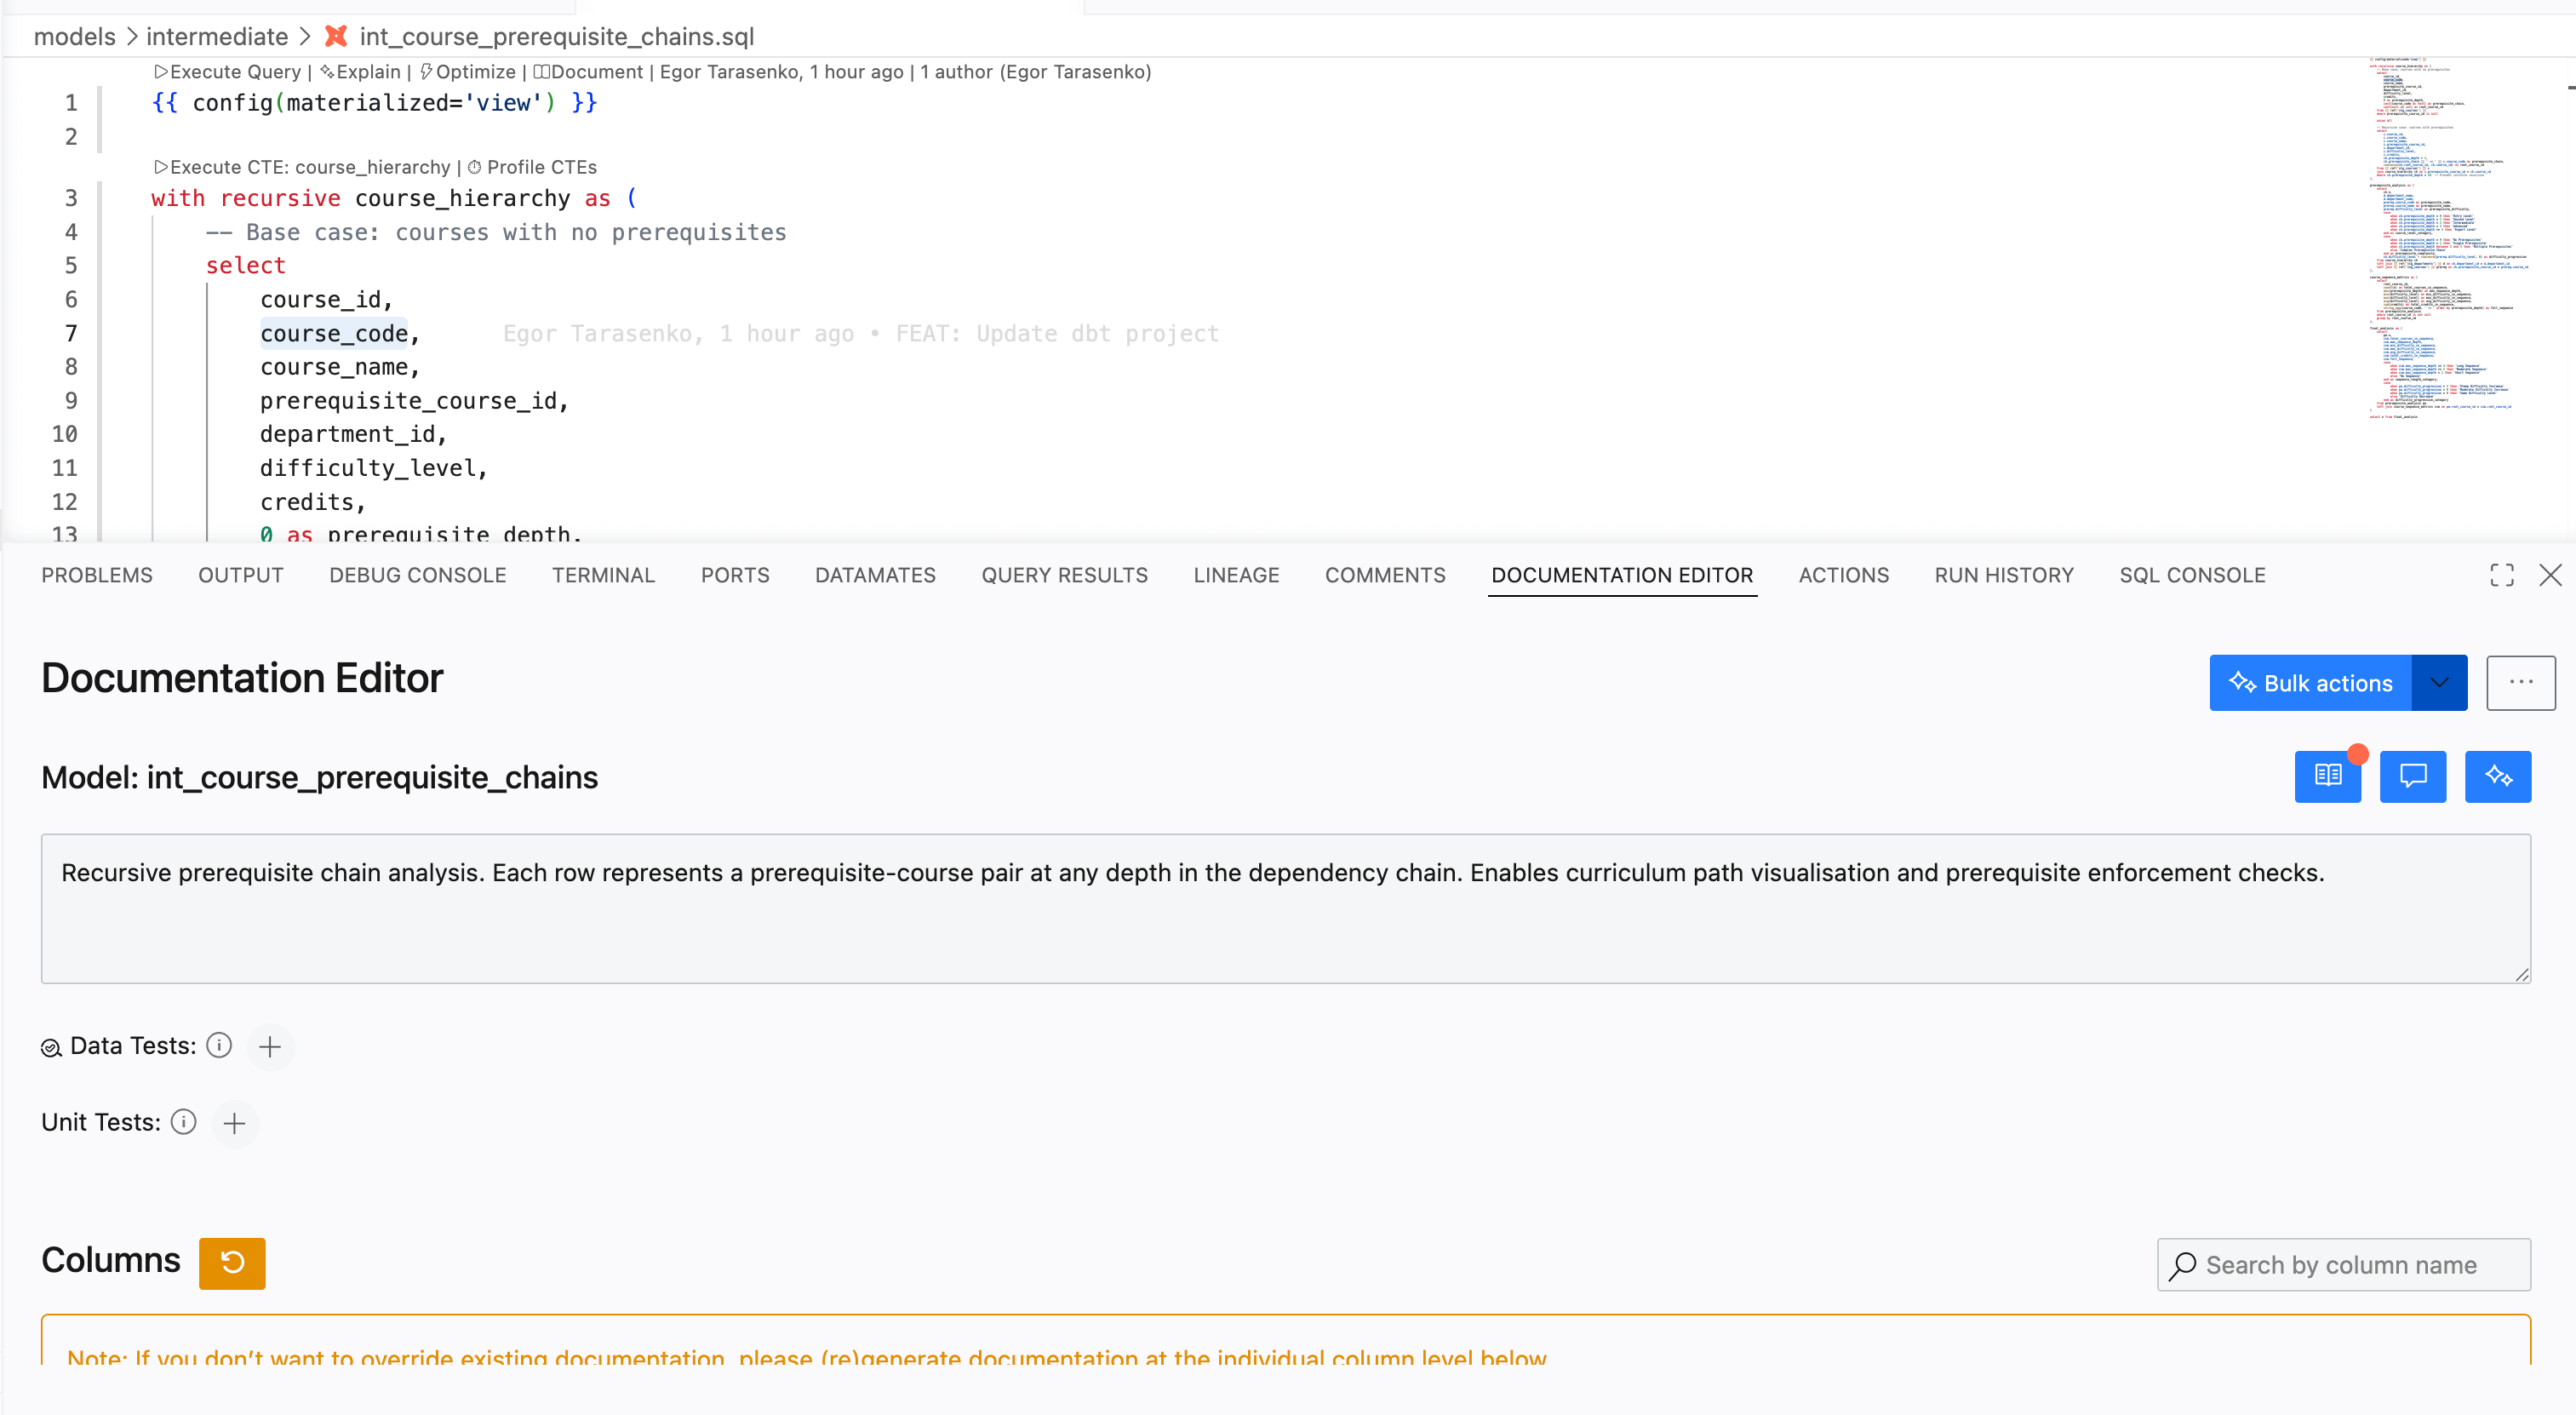
The Documentation Editor sits next to your model files — write descriptions for models and columns directly in a UI panel instead of hand-editing YAML, and they get compiled into your project’s docs.
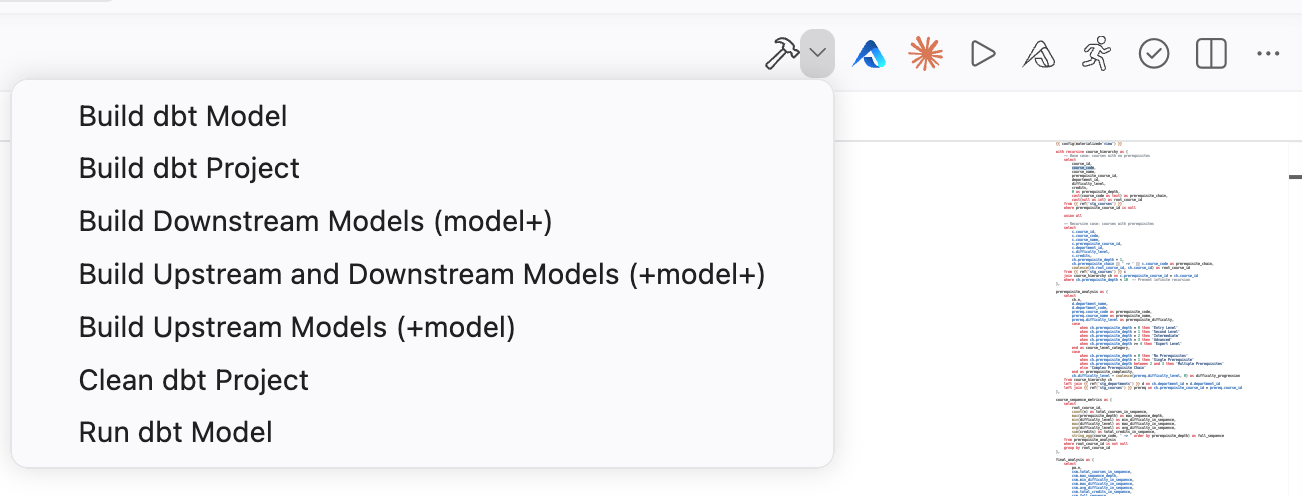
The hammer icon in the editor toolbar is where you’ll spend a lot of time — it’s a menu of dbt quick actions that map straight to dbt’s graph selector syntax: Build dbt Model, Build dbt Project, Build Downstream Models (model+), Build Upstream and Downstream Models (+model+), Build Upstream Models (+model), Clean dbt Project, Run dbt Model. No memorizing dbt run --select +model+ — click the one you want.
There’s a matching SQL Actions menu for whatever query you’re actively writing: Validate SQL catches issues like mistyped keywords or references to columns that don’t exist before you run anything, Explain Query gives you a live, readable breakdown of what the compiled query is doing, and Visualize SQL renders the query as a diagram. Handy if you’re debugging a gnarly CTE chain someone else wrote.
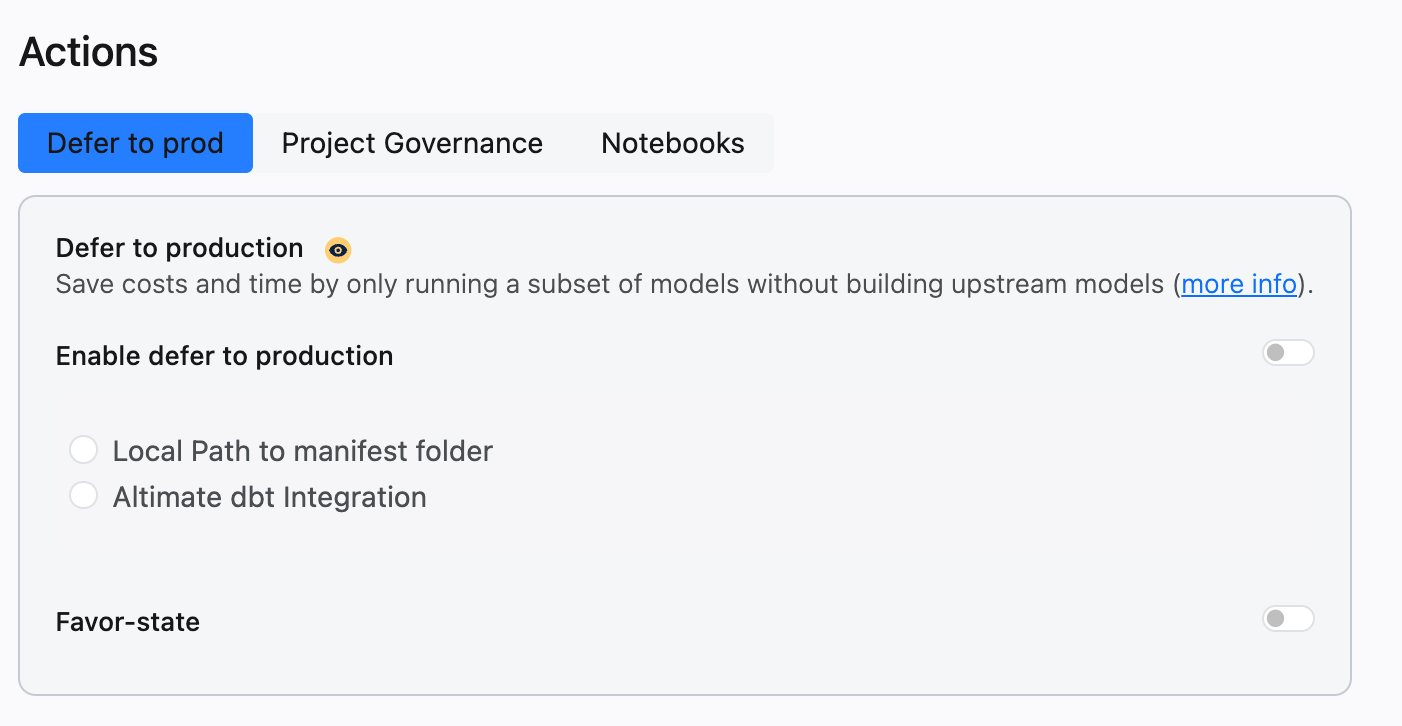
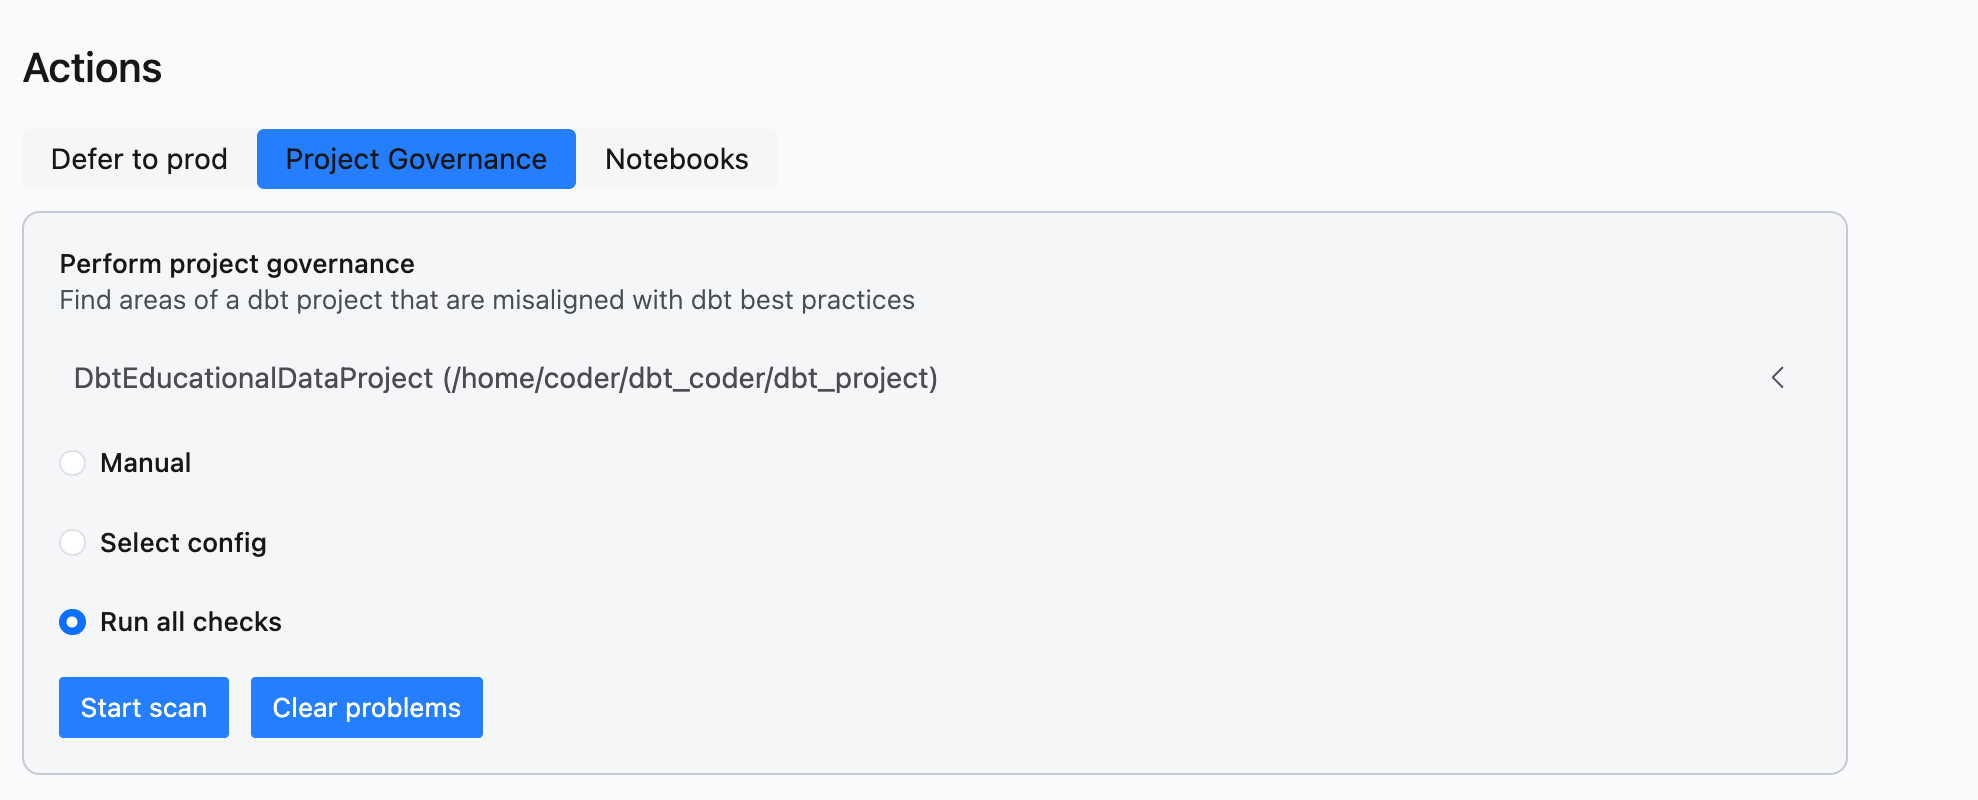
The sidebar’s Actions panel is where the project-level tooling lives, split across three tabs.
Defer to Prod lets you skip rebuilding upstream models entirely and just run against production state instead — point it at a local manifest folder or hook it up through Altimate’s dbt integration, with a “favor-state” toggle for how it resolves conflicts. It’s the same idea as dbt Cloud’s deferral, aimed at saving you from rebuilding half the DAG just to test one downstream model.
Project Governance is a linter for the project as a whole — point it at your dbt_project/ directory, run all checks (or hand-pick a config), and it flags places where the project drifts from dbt best practices: missing tests, undocumented models, naming inconsistencies, that kind of thing.
Run History rounds it out, keeping a record of your past runs and queries so you’re not scrolling back through terminal output to find what you ran ten minutes ago.

Worth being upfront about: not everything in dbt Power User is fully open source. The core IDE features — autocomplete, model-level lineage, project health checks, SQL validation — run locally with no account needed. But some of the more AI-driven features, SQL to Model being the clearest example, call out to Altimate’s hosted service and need a free Altimate API key to unlock. It’s not a dbt Cloud-style paywall, but it’s also not 100% self-contained the way the rest of this template is — worth knowing before you build a workflow your team depends on around it.
Why This Matters
If the Airflow post didn’t convince you, this one is another reason to start using Coder. And to be clear — you don’t have to copy this exact deployment. Different adapter, different extensions, a completely different stack under the hood, it doesn’t matter. Explore, rip things out, add your own. The bottom line is simple: the moment you find the fastest possible way to work with your data — your models, your tooling, your editor setup, dialed in exactly the way you like it — you can hand that same setup to your entire team in seconds. Not a doc. Not a Slack thread. The actual environment.
What's Coming Next
Right now, every developer who wants Claude Code in their workspace pastes their own Anthropic API key into the anthropic_api_key parameter — it works, but it's not how you'd want to run this across a real team. In a future post, we'll cover how we integrated AI into this setup properly: routing Claude Code through a self-hosted LiteLLM proxy, so API keys stay centralized instead of scattered across everyone's workspace parameters, and usage gets tracked per developer instead of disappearing into a shared key.
The full template is in the dbt_coder repository. If you run into issues getting it running, most of the common ones are the same ones we covered in the Airflow post’s troubleshooting section. You are always welcome to open an issue :)